

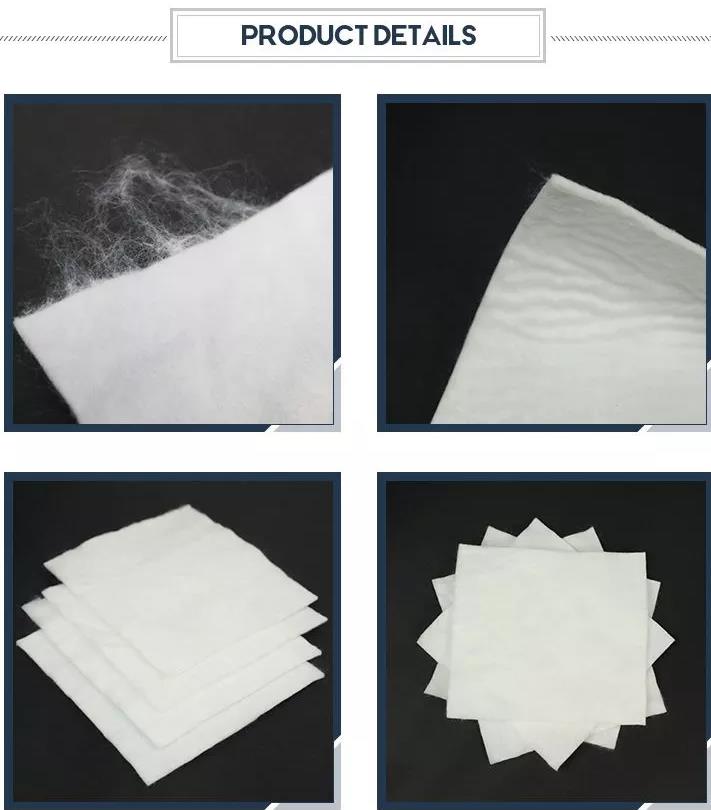

Geotextile Installations Instructions
How to install geotextile fabric
Let us show you how easy the installation is and provide a few useful tips along the way. In our example,
Step 1 – Prep the road surface
First, you will need to excavate the roadway to the desired elevation. Then fully compact your subgrade, making sure you have removed all air and tightened the soil completely.
Step 2 – Unroll the reinforcement geotextile fabric
Roll the geotextile fabric on the compacted subgrade, making sure it’s free of wrinkles and folds. Overlap your fabric as directed by the engineer. Cherokee can pre-sew the fabric for you if a stitch seam is required. Contact your Cherokee representative to get pricing on factory seamed rolls in a wider widths.
Step 3 – Sew the geotextile fabric
This job required the fabric to be stitched on the job site. The fabric needs to be seamed with a dual thread lock stitch to prevent it from unthreading. We have equipment available for purchase or rental to do the stitching on the job. At the engineers discretion you can choose a prayer seam, j-seam, or butterfly seam. In this example we will be using a j-seam. We recommend doing two stitches on each seam to prevent any failure during installation.
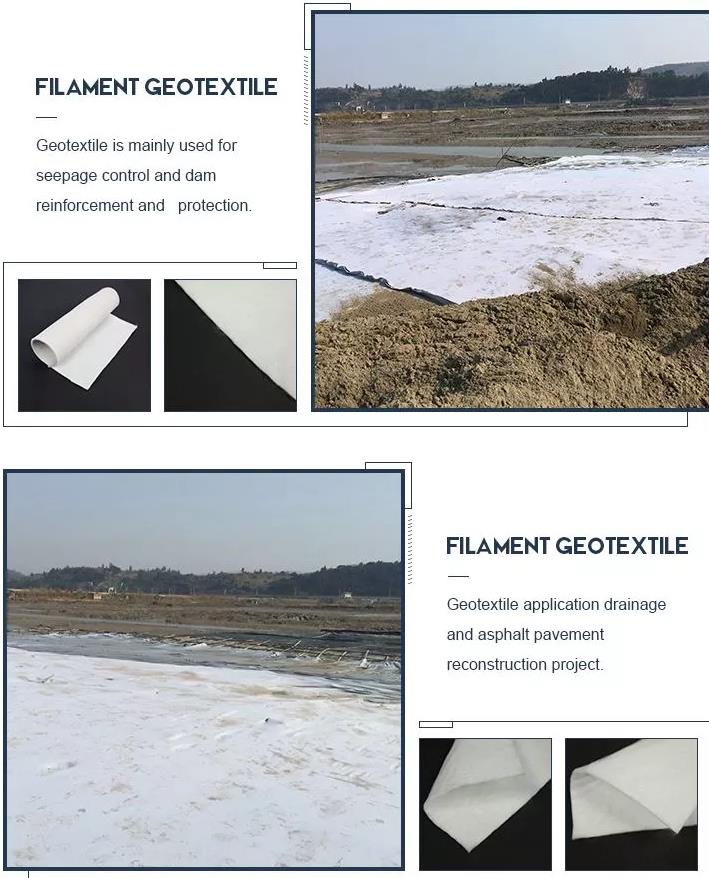
Step 4 – Apply Aggregate
Place your aggregate to the specified thickness, ensuring that no equipment drives directly on the engineered fill. Make sure the fill has reached full compaction before the final step.
Step 5 – Lay Asphalt
Now that you have placed your subbase you are ready for your pavement layer (or layers depending on the project type).