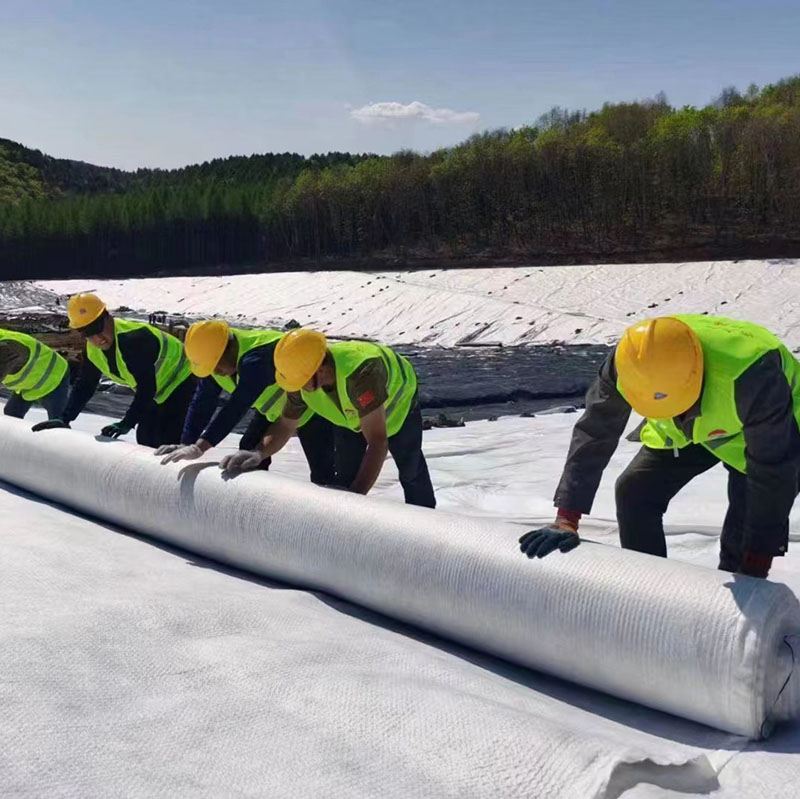
Laying geotextile fabric is an essential step in various construction and landscaping projects to provide separation, filtration, reinforcement, or erosion control. The correct installation method ensures that the geotextile functions effectively and prolongs its lifespan. Here are the general steps to lay geotextile fabric:
- Site Preparation:Ensure the ground surface is properly graded and free of sharp objects, debris, or protruding roots that could damage the geotextile.
- Measure and Cut:Measure the area where you plan to install the geotextile and cut the fabric to the required size. Leave some excess material along the edges to allow for anchoring and overlap (usually around 6 inches or as specified by the project requirements).
- Lay the Geotextile:Unroll the geotextile fabric over the prepared surface, positioning it carefully to cover the entire area. Ensure that any overlapping edges are correctly aligned.
- Anchor the Fabric:To prevent the fabric from shifting or being moved by wind or foot traffic, anchor it in place. This can be done using wooden stakes, landscape pins, or other appropriate fasteners. Place anchors around the perimeter and at regular intervals across the fabric, ensuring a secure hold.
- Overlap and Secure Seams (If Necessary):If multiple pieces of geotextile fabric are required to cover the entire area, overlap the edges by the specified amount (typically around 6 inches) and secure them using geotextile adhesive or tape. The overlap should be in the direction of water flow if it’s an erosion control application.
- Trim Excess Material:Trim any excess geotextile fabric using a utility knife or scissors, especially along the edges or around obstacles like utility poles or drainage pipes. Make clean, straight cuts to prevent fraying.
- Inspect and Adjust:Walk over the installed geotextile to smooth out any wrinkles or folds. Ensure that it lies flat against the ground and is free from any obstructions.
- Backfill or Install Additional Layers (If Needed):Depending on your project, you may need to backfill soil, aggregate, or other materials over the geotextile. Follow the specific instructions for your project to complete the installation.
- Maintenance and Monitoring:Periodically inspect the geotextile installation to check for any damage or signs of wear. Repair or replace any damaged sections promptly to maintain the effectiveness of the geotextile.

Always refer to the manufacturer’s guidelines and project specifications for the appropriate type of geotextile and installation method, as specific requirements may vary based on the intended application and local conditions. Proper installation ensures that the geotextile performs its intended function, whether it’s for erosion control, soil stabilization, drainage, or another purpose.
